I've just been catching up on my blogroll, and found Lisa Eldridge's fantastic make up how to videos via Frolic. I love the results she gets, because the faces looks dewy, fresh and clean. It's never leaden or mask like, or overly made up.
I'm getting much more interested in buying high quality make up (perhaps as the result of my foray into Birchbox!) and now I've got a list of new products and brushes I can't wait to try. Watching her videos, you can really see how the word "artist" applies to Lisa's work. Her canvas is a face and I love watching her transform and accentuate the beauty already there. (Also, her British accent is so charming!) She has some great suggestions for skin care regimens and covering acne too.
What is your make up routine? How did you learn to apply it? What are your favorite products?

Showing posts with label how to. Show all posts
Showing posts with label how to. Show all posts
Thursday, June 21, 2012


Wednesday, February 01, 2012
DIY with The Fab Miss B: Send a Birthday Party in a Box!


Any of my friends will tell you that I love sending care packages. I think my love affair with the art of the care package (and snail mail in general!) started with my Grandma Becky (yep, she's my namesake).
When I was a little girl, my Grandma used to send wonderful boxes of goodies for birthdays and special occasions. I loved the idea that something had flown all the way from Minnesota to California just for me. It looked so dull and ordinary on the outside- a plain brown cardboard box with an address on it. But inside- it was full of foam peanuts that went tumbling every which way with a delightful crinkling noise, hiding surprise after surprise waiting to be pulled out. She used to send candies, cookies, tiny toys, and Lip Smackers lip balm. (I remember sneaking a taste of the orange flavored one- it smelled so good, I thought it would taste that way too. Wrong.)
Anyway, lately I've been super inspired by the beautiful boxes of food and sweets over at Olive and Cocoa. Each one is a little work of art, but the $50- 90 price tags feel pretty unaffordable. Besides, making your own feels more special and personal.
Want to make your own too? You'll need:
An assortment of old fashioned candy (I used rock candy, gumballs, gummy bears, lemon drops, lollipops and some chocolates for good measure)
I also added some fun dime store plastic favors and striped paper straws for fun
A large die cut punch, small hole punch and card stock (or ready made tags!)
Bakers Twine
Cellophane Treat Bags
A Sharpie to Label with
Scissors
A plain shirt box lid (make sure it fits in a USPS priority mail box if you plan to ship it!)
Crepe Paper Folds
Ric Rac
Stapler
 The candy I ordered arrived in bulk, so I divied it up into smaller cellophane bags and labelled each one with a die cut tag (I used a large !.5" round punch) and sharpie. I filled the box with raffia and arranged all the goodies inside. The box still looked a bit plain to me though.
 I grabbed my trusty crepe paper folds and scissors. Leaving it folded, I created a scalloped edge that will repeat when unfolded. You could also try zig zags or fringe!
 Then I used my stapler to attach the crepe paper at the back of the box, stapeling here and there as I wound it around. I started at the top edge of the box and worked my way down to get a pretty ruffled edge and cover the other staples.
 I repeated that process with a length of ric rac to make it feel even more cheerful and celebratory.
 Now who wouldn't feel special getting a box like that in the mail? No time to make your own? Never fear- I've listed one in my shop and I'd be delighted to send it to someone special for you!
What's the best care package you've ever sent or received?
Monday, November 14, 2011
World's Best Party Favors: Surprise Ball How To!
 These surprise balls are easily my favorite party favors. They are so much fun to share with guests and leave a festive pile of curly crepe paper in their wake. I loved watching my grandma and grandpa tossing one back and forth across the table and my little niece Louise jumping with joy at each scattered sequin and feather. They are so easy to make- here's how you can make your own!
 Since my party had an autumnal theme (pumpkins!) I gathered things from my craft stash that had a woodland or fall feel. I chose my painted faux pumpkins as the big surprise at the end of the ball, little foam lady bugs, silver feather charms, miniature deer, sequins, turkey feathers and a supply of cheesy googled pumpkin jokes. Use your imagination to find these dime store treasures at the craft store, thrift shop, Oriental Trading Company or Etsy.
 You'll also need a supply of crepe paper in assorted colors. I used Cindus Crepe Folds
 trimmed into strips, but the ordinary garland kind would be even easier.
 Start your surprise ball with your biggest and best prize since this will be the last thing your friends discover inside. Tightly wrap with crepe paper over and over and over again, recovering areas as needed until you begin to have a ball shape.
 Every so often, add a little treasure. Here is a tiny golden feather charm. Now wind wind wind that crepe paper!
 A clump of sequins or confetti is a great touch- a bit of a mess is a small price for that festive plume of fun! Keep winding! Don't forget to change colors of crepe paper every here and there- it really does make them more fun to unravel.
 A tiny miniature deer is a fun touch. Keep winding!
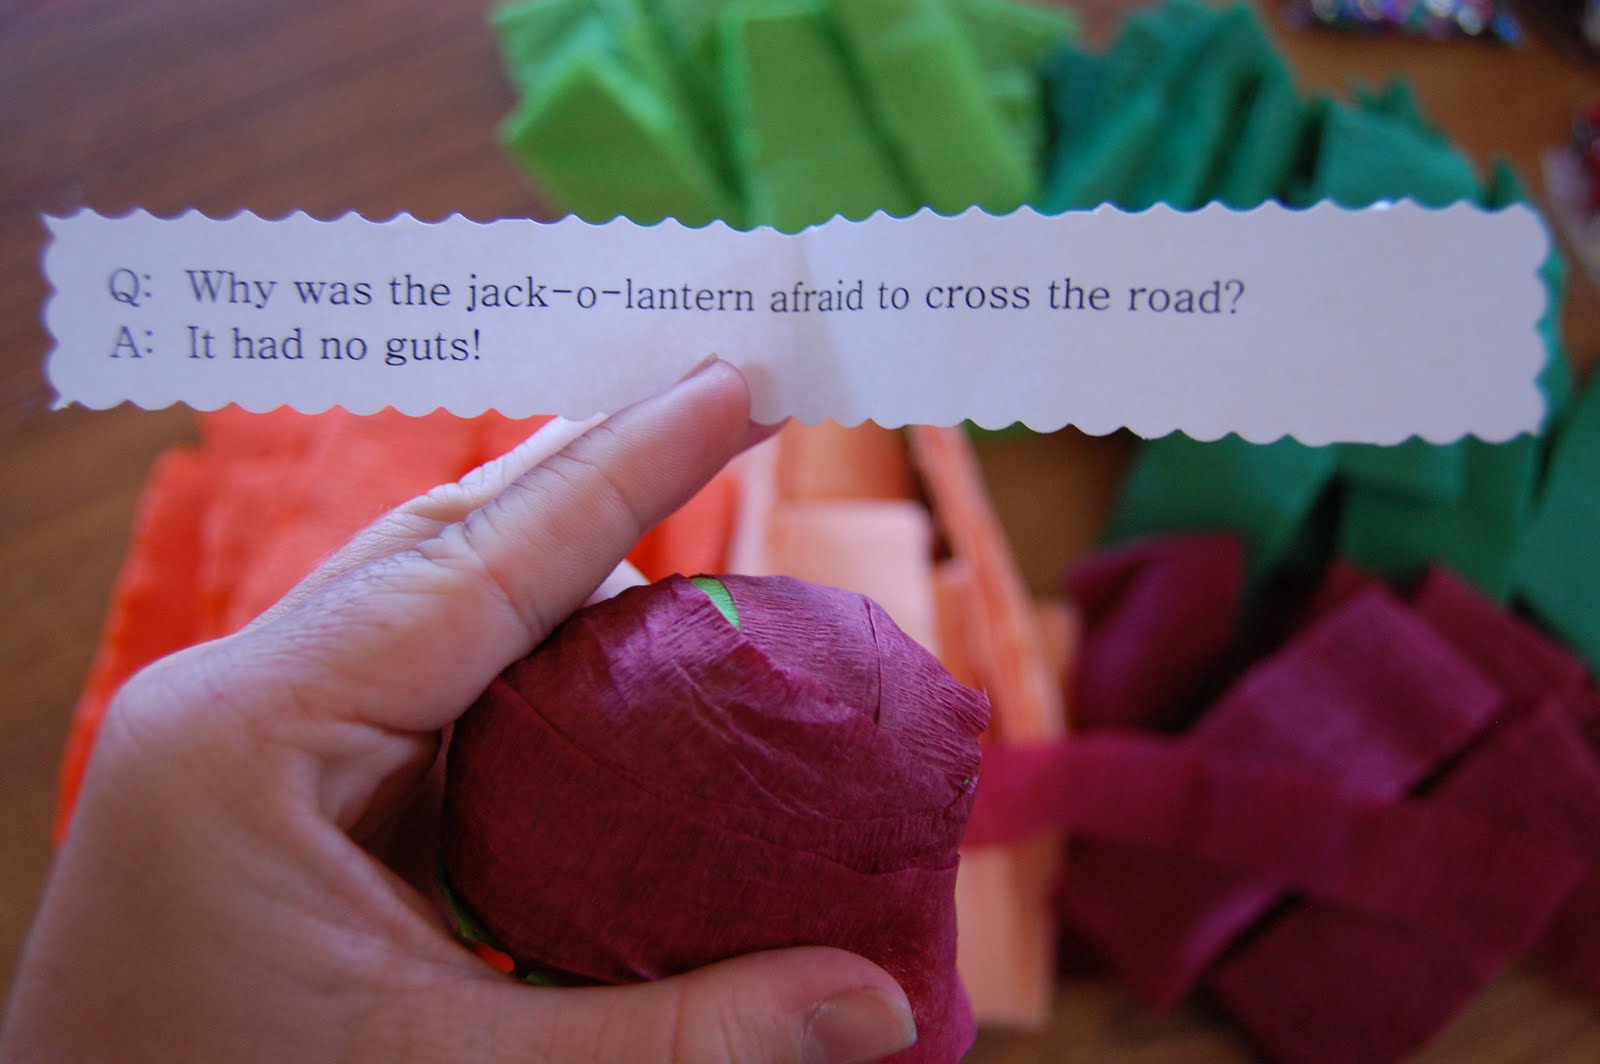 A silly joke is awfully amusing- especially for the kids at your party. Louise (7 years old) loved these!
 Fold them up and...WIND!
 When your ball has a pleasant heft and weight, seal the end with a sticker and a pretty message if you like. Pile them up in a bowl and watch the fun unroll!
If you try this, please do let me know how yours turn out. I'd love to see your party fun!
Monday, September 05, 2011
Ice Cream Cone Cupcakes: A Very Fun Party Treat

For our housewarming party, I made ice cream cone cupcakes! I've wanted to try this for ages. I used a regular white cake mix to which I added 1 packet of pistachio pudding and 1 1/2 cups diet ginger ale. Then I filled the cones 2/3 full and baked the mixture right in the cones at 400 for about 15-20 minutes. Who knows what those cones are made of, but they didn't even brown! It took them longer to cook through and there were a few that had to be tossed due to gloppiness.
After they were cooled, I whipped up a batch of buttercream (1/2 cup butter, 4 cups powdered sugar, a little creamy milk, a little vanilla, some lavender food coloring and lots of whipping in my mixer) and used this fancy pastry tip to ice them. Don't they look just like a luscious dollop of soft serve? I added edible glitter to the tops to make them look a bit frosty too. Pretty fun.
My friend Dan and I got into a conversation about cupcake culture and how it's sort of passed us by out here on the Big Island of Hawaii. I think the trend may be starting to wane, but I haven't lost my enthusiasm quite yet. Cupcakes are the ultimate party treat and I love an excuse to make something totally silly and completely delicious.
What do you think? Are cupcakes in or out?
Tuesday, August 23, 2011
DIY with The Fab Miss B: Gussy Boring Invitations with Glitter
 As I've been unpacking my supply stash into our new (smaller!) space, I've tried to be ruthless about narrowing it down. I'm pretty good about getting rid of things I no longer need, want or use, but when it comes to my art supplies, I'm a bit of a hoarder. (Do any of you have this problem?)
I came across a stash of wedding invitations I bought on super clearance at Target- I loved the pattern. I wanted to make them feel a bit more special, lively and a little less formal. I've noticed that pops of neon are a big trend lately (especially over at J-Crew!) and I was inspired to try it with glitter.
 I used Martha Stewart Ballpoint Glue Pen
 , a stash of neon glitter and my brand new glitter pan (it has a built in funnel!) from Ace to add some drama and fun to these rather staid & conservative invitations.

This tool does a great job of giving fine lines of glue, but you have to be quick! I picked out just few scrolls and curlie ques to highlight with glue.
 Then I coated the lines with glitter, carefully shaking the excess into my glitter pan.
 Afterwards, I tipped the extra glitter back into the bag with the handy dandy spout and sealed it back up again with the rubber plug.

I'm quite pleased with the results. The superfine glitter always reminds me of decorative sanding sugars and I think it gave a lot more pizazz to these invites. I'm planning to use them as stationary, or perhaps as Thank You cards when shipping out Love Birds. I think writing on them in a bold hand with a really thick flat edged sharpie would look fantastic.
Do you use personal stationery? What do you choose for those increasingly rare personal pieces of snail mail?
Thursday, August 18, 2011
DIY Tiered Herb Garden for Urban Green Thumbs
 I found this great tiered wire basket on clearance at Wisteria, but there are thousands of pretty vintage options on Etsy too. It's quite large so I felt inspired to turn it into a mini herb garden for my lanai.
 I picked up a little packaged green and Spanish moss from Ace Hardware, along with some potting soil and herb starts.
 First, I loosely lined the baskets with moss. This is just for show, so I only did the sides I will see.
 Then, I lined the bottom of the containers with a thick layer of Spainish moss to hold the soil in.

Then came potting soil. (You substitute floral foam here if you wanted to create an arrangement with fresh cut flowers. )
 Then I added my little herb starts. I love watering this little mini herb garden because each level drains into the next one. A word of warning- on the first watering, a bit of muddy water leaked out. I'd advice using a terra cotta dish underneath to catch run-off at first.
 I'm hoping to do a better job with my plants now that they are all just a few steps away on the porch. (I'm a bit notorious for killing things off!) I chose to plant chives, thyme, and mint because I've managed to not kill them before and I love to cook with all of the above. I love basil too, but have had a terrible time growing it. I've taken to buying it in big bunches at the farmer's market instead.
Are you an urban gardener? What plants have you been the most successful with?
Subscribe to:
Posts (Atom)
