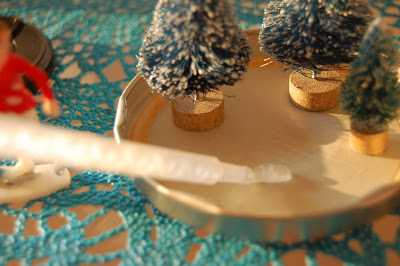
During my Winter Break from school, I got caught up on all sorts of crafty projects, including one I've been dying to try for over a year: Home Made Snow Globes! I knew it would be a really fun way to display my growing collection of plastic miniatures, and I'd love to try it with my fourth graders, so I did a test run. It was a simple project, but it did require patience! Here's my how to!

For this project, you will need rather a long materials list and some patience:
Clean Jars with screwtop lids (I used salsa jars. Target's Market Pantry brand has pretty silver lids that don't need altering!)
If your jar has an ugly lid, you'll also need fine grade sandpaper & spraypaint
Epoxy
Plastic figurines that fit neatly inside the lid
Glycerin- can be found with toiletries in many drug stores.
Distilled Water
Glitter
If your jar has an unattractive label on the lid, use some fine grade sandpaper to roughen up the surfaces. (This helps the paint adhere better and it will stand up to handling better. Remember, the whole point of a snow globe is tipping it upside down again and again so you want the paint to stay put!) Make sure your lid is clean and dry and apply several layers of spray paint.
 Once your lid is dry, place your figurines into a pleasing arrangement, making sure they don't go beyond the inner rim of the lid. Then, apply the epoxy to the inner lid surface.
 Leave the glue to set undisturbed for twenty four hours. You want a super strong bond. (It'll be going upside-down, remember?)
 Now the fun part! Add a teeny tiny drop of glycerin to your jar. Too much and your glitter will clump so use a light hand. This helps the glitter to float around gently in your globe.
 What did you do during Winter Vacation?


1 comment:
I made my dad a snow globe just like this when I was in kindergarten and he still has it. Ofcourse, all the glue has disintegrated and the pieces are floating around in the jar but its just the fact that he has kept it. What a wonderful Christmas memory.
Post a Comment