 |
| The finished product! |
Eric and I moved house for the fourth time in 2012 on December 1st. Another apartment came available in my Dad's building that was a little larger than our tiny attic and we couldn't resist. The horrific kitchen needs to be remodeled, but it has huge bay windows, a bathtub and a beautiful fireplace (read: a coal burning fireplace that needs to be converted to gas or rebuilt for wood. We've filled it with a mirror and some candles for the time being.) As you can imagine, we'd spent a lot of time and money getting the attic tricked out, and now we've had to start the process all over again in our new place. The windows were my biggest challenge. The previous tenant left these chocolate brown damask curtains which were pretty, but too short for these windows and too heavy for the room. It felt dark and claustrophobic.
 |
| Before: These curtains were left by a previous tenant. I sold them on craigslist and used the cash to buy fabric. |
I put them up on craigslist and used the cash towards upholstery fabric. I paid a visit to SR Harris Discount Fabrics in Brooklyn Park, Minnesota. It's a massive warehouse crammed to the rafters with discontinued bolts of fabric- everything from Barney Rubble costume fur to delicate silk chiffon and embroidered upholstery fabrics. I wandered the aisles with my measurements, wrestling with the heavy bolts of fabric before throwing caution to the wind and settling on a vivid coral printed with a metallic golf floral. It's called "Carlotta" for Bailey & Griffin. A bit of googling tells me fabric from this vendor usually runs around $90.00 a yard, so my $100 investment for thirteen yards was a steal.
 |
| A good seamstress measures twice and cuts once, right Grandma? |
My sweet grandma helped me cut the massive bolt of fabric into four equal pieces. We stretched all twelve yards the entire length of her basement and she gamely crawled around on her knees with her measuring tape, pins sticking from her mouth, brow furrowed in concentration. Her perfectionism helped set me up to finish the job properly, and I'm so grateful. (I can get a bit sloppy as a seamstress if left to my own devices!)
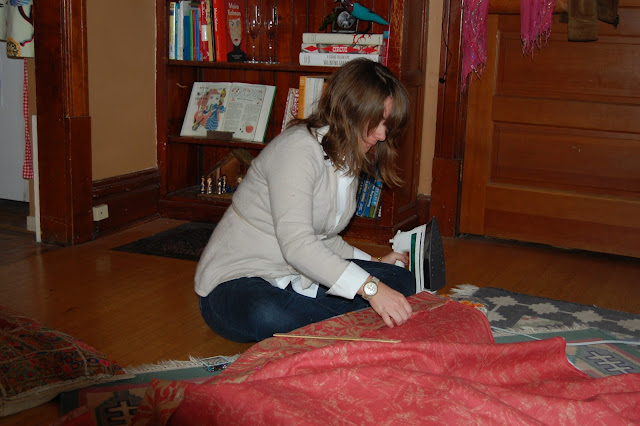
Next I hung up the unfinished swaths of fabric from drapery rings to make sure I got the hems just exactly right- not too long, but not too short either. (This window treatment guide from Real Simple was a very helpful in choosing a length that felt intentional and casual but not sloppy.) I wanted my finished curtains to just skim the floor and be simple to open and close every day. Then I got out my pins and iron and got to work.
 |
| Actually sewing the hems took almost six hours. |
All told, this project took my about six hours to complete. Although this was a lot longer than I anticipated, I'm so in love with the final product. I feel like I succeeded in creating the look of expensive custom window treatments for a relatively small investment of time and money. These let in much more light, are easier to open and close, make the whole room feel lighter, more cheerful and totally work with the colors I've used in the rest of the room. If I'd ordered them from a designer, it would have been around $800 for the fabric alone.
Here they are closed up for the night.
 |
| I couldn't be more delighted with how these window treatments came out. |
I love how the light picks up the gold in the fabric and adds an element of shimmer and shine, even in the darkest nights of winter.
What have you been working on lately? I have another massive bolt of fabric ready to tackle for curtains in my bedroom right this second. I'll be sure to share the results with you! Thanks for your kind patience as I get back in the swing of incorporating blogging into my new life in Minneapolis.

1 comment:
gorgeous! and love that mirrored hexagon lamp
Post a Comment